
Skip the Manual and Let Experts Assemble Your Outdoor Storage Shed
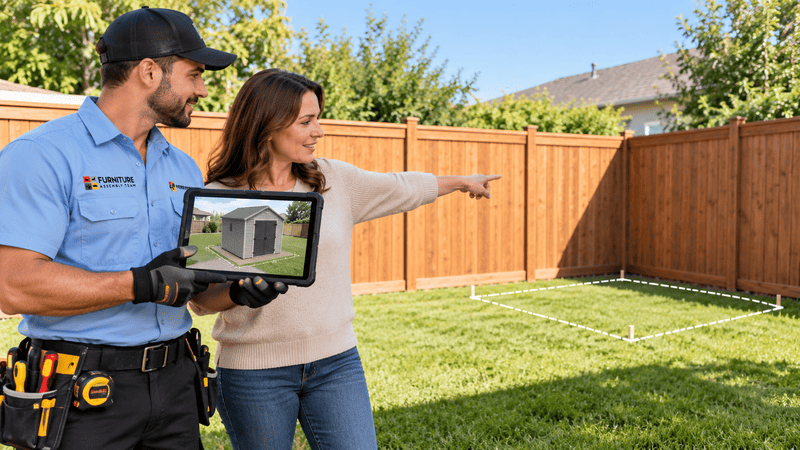
Professional shed assembly typically involves site preparation, base checks, component organization, frame assembly, squaring, leveling, wall and roof installation, door alignment, anchoring, and final adjustments. The approach depends on shed material, footprint, surface condition, terrain, structure size, manufacturer requirements, access points, weather exposure, and applicable local requirements. Each step affects how the next part of the installation fits together.
- The installation site comes first, before any panels or hardware.
- Frame squaring affects the entire shed, from walls to roof.
- Panel sequencing matters because out-of-order steps often cause rework.
- Anchoring depends on the surface, whether concrete, gravel, or soil.
- Professional assembly reduces manual-related guesswork and keeps parts organized.
The Right Storage Shed Starts With the Right Installation Plan
Storage shed kits often arrive with dozens of panels, brackets, screws, and lengthy multi-page manuals. A rushed base, a skipped step, or a slightly off-square frame can create problems that show up during roof installation or when the doors refuse to close.
Instead of fighting the manual on a hot afternoon, many homeowners prefer a structured approach. Our team provides professional storage shed assembly with organized components, careful frame alignment, leveling checks, roof setup, door calibration, and appropriate anchoring considerations for the surface and shed type.
Choose the Shed That Fits the Property
The right shed depends on how much space you need, what you plan to store, and how the structure will sit on the property. A compact resin unit suits a tight patio, while a larger wooden workshop needs room to breathe and swing doors freely.
Common shed categories include:
- Resin and plastic sheds: high-density polyethylene outdoor units, interlocking blow-molded resin utility sheds, and horizontal walk-in storage lockers.
- Galvanized steel and metal sheds: corrugated metal garden sheds, heavy-duty steel tool buildings, and pre-fabricated aluminum utility structures.
- Timber and wooden sheds: premium wood panel sheds, cedar-framed workshops, overlapping timber tool sheds, and modern lean-to designs.
Add-ons such as dual-wall windows, heavy duty floor kits, integrated shelving brackets, skylight roof panels, and locking double door mechanisms should be installed in the correct sequence so they align with the frame.
Prepare the Installation Area Before Assembly
Before a single panel comes out of the box, the installation area needs attention. A quick walkthrough helps avoid surprises once the project begins. Many Pennsylvania backyards, for example, slope more than owners expect.
Site checks usually cover:
- Available installation area and shed footprint
- Ground conditions, including concrete, pavers, gravel, or prepared bases
- Existing structures, fences, and nearby landscaping
- Delivery access and overhead obstructions such as low branches
- Drainage patterns and utility locations
- Door orientation for daily use
- Local permit, zoning, setback, HOA, and building requirements
Property owners should confirm applicable permit and HOA requirements with the appropriate authority. For broader context on outdoor product standards, outdoor product safety guidance can be helpful background reading before planning an outdoor project.
Resin Shed Panels Need the Correct Sequence
Resin and plastic sheds look simple, yet they rely heavily on panel sequencing. Interlocking panels only connect properly when installed in the manufacturer's prescribed order. A single skipped channel can block the roof from seating correctly.
Technicians focus on floor alignment, interlocking connections, correct wall placement, and door calibration before moving to the roof. In a Delaware townhouse community, a horizontal walk-in locker on a patio needs tight door alignment so bins slide in without catching the frame.
Metal Shed Frames Require Accurate Squaring
Galvanized steel and aluminum sheds depend on accurate frame assembly before any panels attach. If the base rails are even slightly off-square, the walls will twist and the roof panels won't overlap cleanly.
Metal shed assembly usually involves:
- Measuring the footprint and checking diagonals
- Squaring corners before tightening fasteners
- Verifying panel overlap on walls and roof
- Placing fasteners in the correct holes to avoid stripping
- Aligning the roof peak and ridge components
- Choosing anchoring hardware suited to the surface
Rushed squaring is one of the common shed installation mistakes that creates long-term headaches, especially on exposed suburban lots in Maryland.
Wooden Sheds Need Careful Frame Alignment
Timber sheds involve different connection methods than resin or metal kits. Floor framing, wall posts, roof trusses, and overlapping siding each depend on accurate measurements. Wood also shifts with humidity, so initial alignment matters more than many homeowners expect.
Floor framing and post alignment
A cedar-framed backyard workshop needs a flat, well-drained base. Posts must sit plumb, and floor joists should rest evenly to support flooring and heavy tools.
Panel positioning and roof assembly
Overlapping timber panels and lean-to roof sections only sit correctly when the frame beneath them is true. Our crews also handle outdoor furniture assembly services for the patio sets that often live near these backyard structures.
Roof Panels and Doors Need Precise Installation
Roof and door components are not simple finishing details. Misaligned roof panels, loose fasteners, or crooked door frames can create maintenance concerns that grow over time.
Careful roof and door installation covers:
- Roof panel positioning and consistent overlap
- Fastener placement in reinforced points
- Skylight alignment within the roof plane
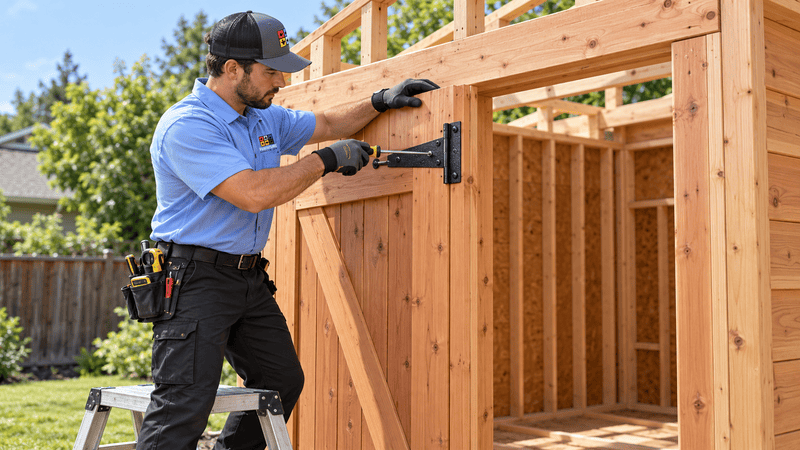
- Door-frame squaring and hinge positioning
- Latch alignment so doors close without force
- Drainage direction away from entry points
Many prefabricated kits, such as the prefabricated storage shed designs found at specialty retailers, assume the installer will follow the roof sequence precisely.
The Installation Surface Determines the Anchoring Approach
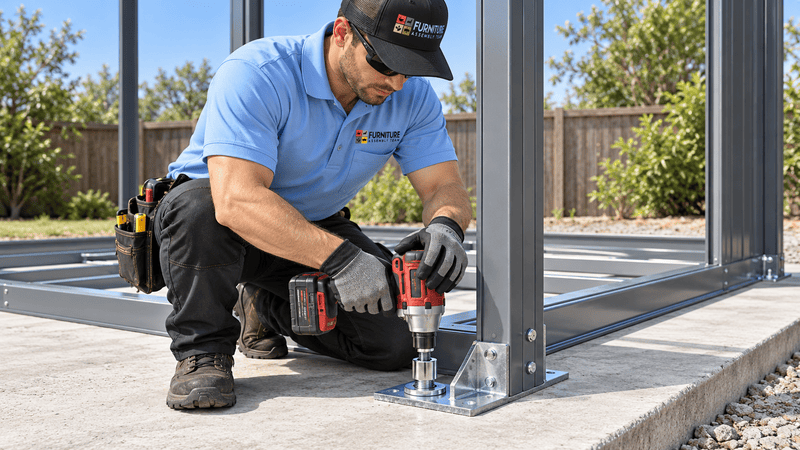
Anchoring methods vary by shed type, surface, wind exposure, and manufacturer instructions. No single anchor is appropriate for every property. A unit on a concrete pad in Washington, DC uses different hardware than one on gravel in a rural Pennsylvania yard.
| Surface Type | Common Anchoring Method | Typical Considerations |
|---|---|---|
| Poured concrete | Concrete expansion anchors | Pre-drilled holes, manufacturer-specified hardware |
| Pavers or patio stones | Base brackets with suitable fasteners | Load distribution, bracket placement |
| Gravel base | Ground anchors or auger-style stakes | Depth, soil condition, structure size |
| Compacted soil | Ground anchors with cables or straps | Soil type, drainage, wind exposure |
| Wooden deck | Deck-rated fasteners into joists | Joist spacing, deck load capacity |
Anchoring should follow manufacturer requirements and local guidance rather than a one-size-fits-all approach.
Uneven Ground Can Complicate Shed Leveling
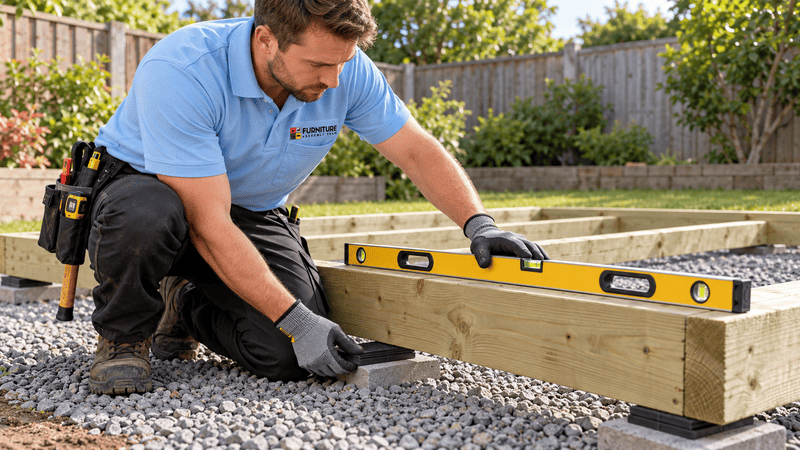
Uneven ground is one of the most common issues in Northern Virginia backyards. Even a one-inch slope across a shed footprint can affect door operation and panel alignment.
Leveling considerations include base dimensions, surface condition, drainage, floor kit support, and manufacturer base requirements. In some cases, additional site preparation, such as adding gravel or shimming a floor kit, helps create a workable surface before assembly begins. Perfect leveling is not something anyone can promise on natural terrain, but careful preparation reduces guesswork.
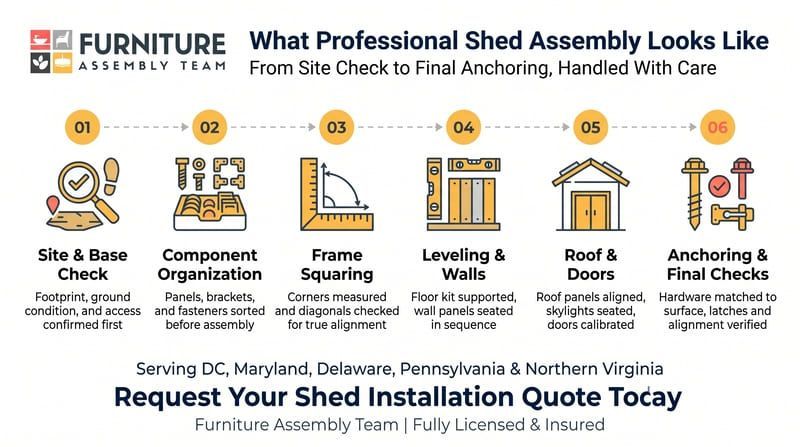
What Professional Shed Assembly Looks Like
Professional shed assembly means organizing, assembling, aligning, leveling, securing, and completing an outdoor storage structure according to its design, installation surface, manufacturer requirements, and applicable site considerations. It is a planned, step-by-step process rather than a weekend scramble.
Why choose our team
Furniture Assembly Team is fully licensed and insured, and we provide professional support for residential and property-management shed projects. Our crews focus on frame squaring, structural alignment, shed leveling, appropriate anchoring considerations, panel sequencing, roof alignment, and door calibration.
We also follow manufacturer requirements, work carefully on uneven terrain, and maintain clean work practices on the property. This approach helps reduce structural guesswork, supports accurate frame alignment, and can simplify a complex shed installation. Property managers coordinating multiple rental units often appreciate the consistency this brings.
Why Rushed DIY Assembly Can Create Expensive Problems
Rushed DIY shed builds often reveal issues too late. A frame tightened before squaring, a roof seated on misaligned walls, or doors hung on a twisted frame can lead to leaks, sticking latches, and future repairs.
Common pain points include:
- Large, awkward panels that need two or more installers
- Multi-page manuals with easy-to-miss details
- Specialized fasteners placed in the wrong order
- Overhead roof work that is tough solo
- Difficult terrain and limited-access backyards
For context on broader assembly projects, see storage organization moving guidance when items inside the shed need to be relocated during installation.
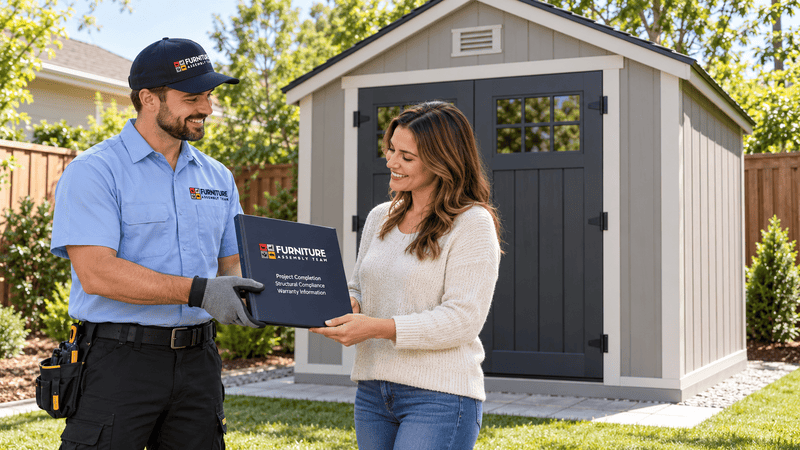
Professional Installation Can Simplify a Backyard Project
Hiring an experienced crew can reduce assembly guesswork and help keep components organized from unboxing through final adjustments. It supports accurate frame alignment and may reduce avoidable installation mistakes.
Beyond sheds, many clients also need professional home furniture assembly, storage unit assembly services for interior organization, and wardrobe storage system assembly once the shed starts holding seasonal overflow. Combining these projects into one visit helps busy homeowners keep momentum.
For additional backyard structure context, garden structure assembly support is often paired with shed projects on larger properties.
Specialized outdoor assembly crews deploy daily across Washington, DC, Maryland, Delaware, Pennsylvania, and Northern Virginia. Whether it is a resin unit behind a Baltimore rowhome, a steel garden shed on a Wilmington property, or a cedar workshop in a Fairfax backyard, local coverage keeps timelines reasonable.
Request a Professional Storage Shed Installation Quote Today
Preparing the site, organizing components, aligning the frame, installing the roof and doors, and anchoring the structure all go smoother with professional support. Our crews coordinate the full process so homeowners and property managers can skip the stress of a long manual.
Clients often combine shed work with furniture disassembly storage support when clearing a garage before a new build. Businesses sometimes pair it with technology integrated office setup for commercial projects. Browse our full professional assembly service solutions to see what fits your property.
Book Your Shed Assembly Crew Today
Homeowners, property managers, and garden enthusiasts across Washington, DC, Maryland, Delaware, Pennsylvania, and Northern Virginia can request shed installation quote for fast scheduling with Furniture Assembly Team.
Frequently Asked Questions
How long does professional shed assembly take?
Most residential sheds take between three and eight hours, depending on size, material, and site conditions. Larger wooden workshops may take longer.
What should I prepare before shed installation?
Clear the installation area, confirm the shed footprint, and check delivery access. Also verify any local permit or HOA requirements with the appropriate authority.
Does a storage shed need a level base?
Yes, a reasonably level base supports frame alignment, floor stability, and door operation. Uneven surfaces often need added preparation before assembly.
Can a shed be installed on concrete?
Many sheds work well on a concrete pad with manufacturer-specified anchors. Pre-drilled holes and the correct hardware are typically required.
Can a shed be installed on uneven ground?
It can, but the ground usually needs preparation such as leveling, compacting, or adding gravel. This supports better alignment during assembly.
Do outdoor sheds need to be anchored?
Most manufacturers recommend anchoring, with the method depending on surface, structure size, and wind exposure. Local requirements may also apply.
What is the difference between resin, metal, and wooden sheds?
Resin sheds use interlocking panels, metal sheds rely on steel or aluminum framing with overlapping panels, and wooden sheds use timber framing with siding and roofing boards.
When should I hire professional shed installers?
Hire professional shed assembly help when the kit is large, the terrain is uneven, access is limited, or the manual feels overwhelming for a weekend project.